How to Organize Kitchen Cupboards So You Can Actually Find Things
Organize kitchen cupboards by zone so every item lives near where you use it. A seven-zone plan with a summary table of what goes where.
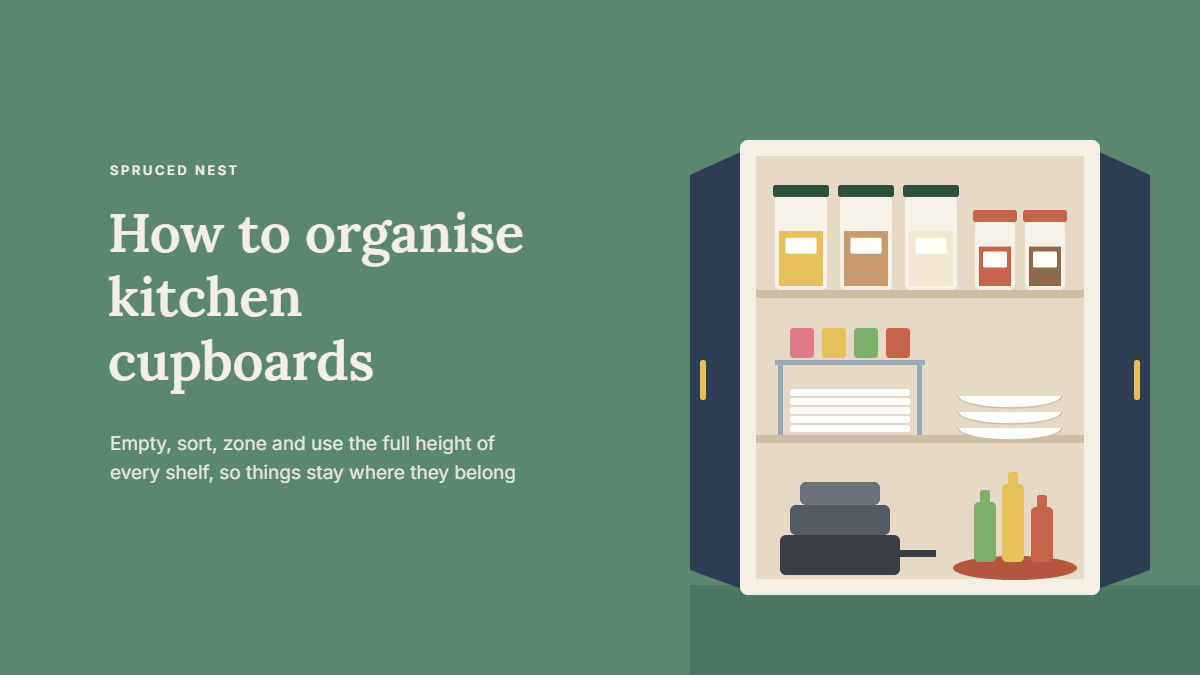
Most messy kitchens don’t need more storage. They need a plan. The quickest way to organize kitchen cupboards is to stop thinking about shelves and start thinking about zones: everything lives near the place you use it.
Picture a typical morning. You walk to the kettle, then cross the kitchen for mugs, then open three doors to find the tea. A zone layout fixes that by grouping items around tasks, not around whatever space happened to be free.
Below is a zone-by-zone plan you can follow one cupboard at a time. There’s a summary table at the end showing what goes where.
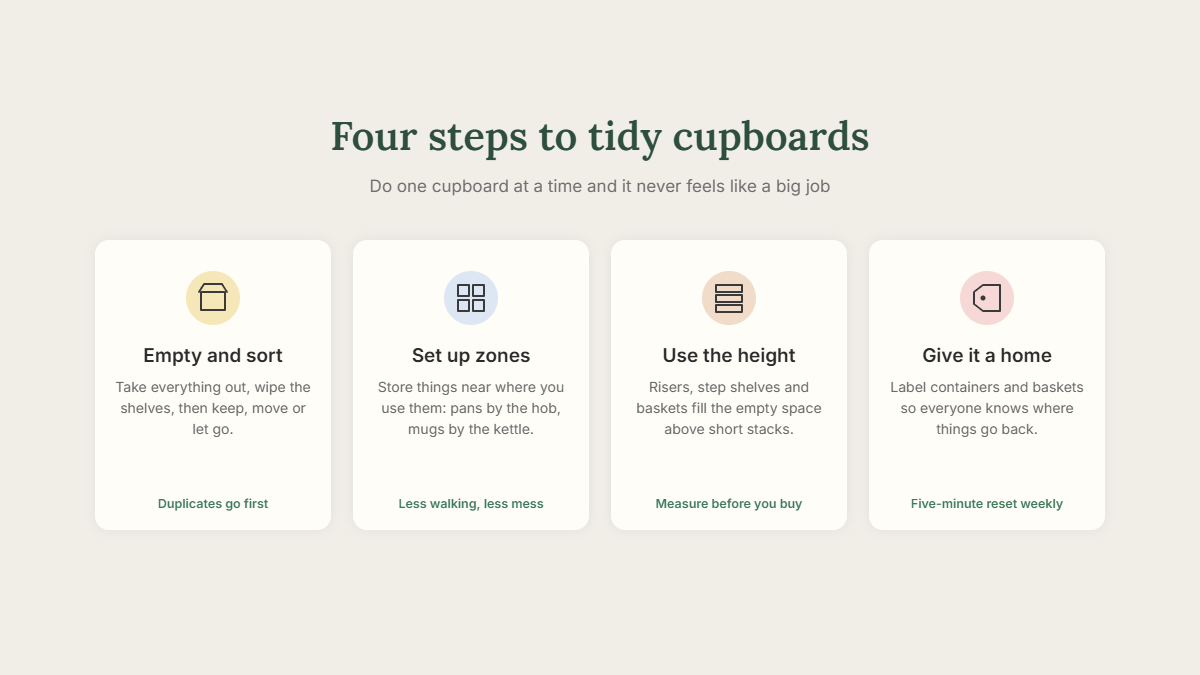
Before you organize kitchen cupboards: empty, sort and measure
You can’t organize kitchen cupboards properly while they’re still full. So, give yourself an hour per bank of cupboards and work through them in turn.
- Empty one cupboard completely. Put everything on the counter or table.
- Wipe the shelves. Crumbs and sticky rings attract pests, including fruit flies. Our guide to getting rid of fruit flies in the kitchen covers what to do if they’ve already moved in.
- Sort into four piles: keep, move to another zone, donate, and throw away.
- Check dates on food. Toss anything stale or past its use-by date.
- Measure the space. Note shelf height, depth and door width before you buy any organizers.
That last step also saves money. A shelf riser that’s 2cm too tall is just clutter.
Zone 1: the prep zone
This is the counter space between the sink and the stove, where you chop and mix. The cupboards above and below it should hold the tools you reach for while prepping.
- Mixing bowls, nested by size
- Measuring cups, scales and spoons
- Cutting boards, stored upright in a rack or file holder
- Everyday oils, salt and pepper, if they’re kept away from stove heat
For safety, keep the heaviest bowls on lower shelves. Lighter, frequently used items go at eye level.
If you bake often, this is also a good home for a small baking kit: a whisk, a spatula, cupcake cases and a set of measuring spoons in one shallow bin. Lift the bin out, and everything you need is on the counter.
Zone 2: the cooking zone
Next, focus on the cupboards nearest the stove. These hold anything that goes on or in it.
- Pots and pans in a deep drawer or low cupboard. Stand frying pans on their sides in a pan rack so you can lift one out without moving the rest.
- Lids in a separate rack or a door-mounted holder.
- Baking trays stored vertically in a narrow cupboard.
- Utensils in a drawer or crock beside the stove.
If your pans have stopped performing, it may be the coating rather than the cupboard. Our article on why a non-stick pan stops working can help you decide what to keep.
Zone 3: organize kitchen cupboards for food
Pantry food deserves its own cupboards, ideally away from the stove, oven and dishwasher. The USDA’s guidance on storing shelf-stable food safely recommends keeping these items somewhere cool and dry.
Arrange it by category, then by how often you use it:
- Top shelf: backup stock and occasional ingredients.
- Middle shelves: everyday staples such as rice, pasta, cereal and canned goods.
- Bottom shelf: heavy items like flour bags, oils and big jars.
A few habits keep the food zone working:
- Decant open bags of flour, sugar and pasta into airtight containers. They stack better, and they help keep pantry pests out.
- Label each container with its contents and the date you opened it.
- Use a tiered shelf for cans so every label is visible.
- Put newer items behind older ones, so you use the oldest first.
Chilled food, however, is another story. For that, see our guide on where to store food in the fridge.
Zone 4: the dish and glassware zone
When you organize kitchen cupboards for crockery, think about the unloading route. Plates, bowls, mugs and glasses should sit close to the dishwasher or drying rack. That way, unloading takes a couple of steps, not a tour of the kitchen.
- Stack plates no more than about a dozen high to avoid chips.
- Use a shelf insert to create a second level for side plates or bowls.
- Keep everyday glasses at the front and special ones behind or higher up.
- Hang mugs on under-shelf hooks if your cupboard is tall.
Zone 5: the drinks station
This is the small zone that changes your mornings, and it’s often the most satisfying part when you organize kitchen cupboards. Set aside one cupboard near the kettle or coffee maker for tea, coffee, sugar, mugs and travel cups.
If space allows, a lazy Susan makes it easy to spin round to the jar you need.
Zone 6: under the sink
Under the sink is for cleaning supplies only, never food. Pipes can drip, and chemicals don’t belong near anything you eat. Keep products in their original labeled containers, and use a child lock if young children visit.
A pull-out caddy or a small tension rod for spray bottles makes the most of the awkward space around pipes. For a step-by-step setup, see how to organize the space under your kitchen sink.
Zone 7: the high and hard-to-reach shelves
Of course, every kitchen has them. Above the fridge, the back of corner cupboards, the top shelf you need a step stool for.
These spots suit items you use a few times a year:
- Holiday platters and serving bowls
- Large roasting tins
- Spare appliances, such as a slow cooker or ice cream maker
Corner cupboards work better with a carousel or pull-out unit. As a result, nothing gets lost in the dark back corner.
Tools that help you organize kitchen cupboards in small spaces
You don’t need to buy a lot. However, a few inexpensive pieces add a lot of usable room, especially in a small kitchen:
- Shelf risers double the surface of deep shelves.
- Door-mounted racks hold lids, foil and spices.
- Clear bins group small packets, such as sauces or baking supplies.
- Drawer dividers stop utensils from tangling.
- Under-shelf baskets use the empty air above shorter items.
In short, buy after you’ve sorted, not before. Otherwise, you’ll organize clutter you would have thrown away.
Common mistakes to avoid
A few habits undo good work fast. Watch out for these:
- Buying organizers first. Measure and sort, then shop. Many bins end up holding things you didn’t need.
- Filling every gap. A little empty space on each shelf makes it easier to put things back.
- Storing food by the oven. Heat and steam shorten the life of dry goods and spices.
- Hiding everyday items up high. If you use it daily, it belongs between hip and shoulder height.
- Skipping labels. Labels help everyone in the house put things back in the same place.
It’s also easy to try to organize kitchen cupboards all in one weekend and burn out halfway. One cupboard an evening is a steadier pace.
Habits that help you organize kitchen cupboards for good
Admittedly, the first sort is the hard part. After that, it’s small habits:
- Put things back in their zone straight after use.
- Do a five-minute tidy of one cupboard each week.
- Check the food zone before you shop, so you don’t buy duplicates.
- Every few months, clear out what you haven’t touched.
If something keeps ending up in the wrong place, move its home. The best system is the one that fits how you actually cook.
Summary: how to organize kitchen cupboards by zone
Here’s the whole plan at a glance:
| Zone | Where | What goes there |
|---|---|---|
| Prep | Between sink and stove | Bowls, boards, measuring tools |
| Cooking | Beside or under the stove | Pots, pans, lids, trays, utensils |
| Food | Cool cupboard away from heat | Dry goods, cans, spices, baking supplies |
| Dishes | Near dishwasher or rack | Plates, bowls, glasses, cutlery |
| Drinks | Next to kettle or coffee maker | Tea, coffee, sugar, mugs |
| Cleaning | Under the sink | Labeled cleaning products, sponges, bin bags |
| Occasional | High shelves and corners | Holiday dishes, big tins, spare appliances |
First, tackle the zone that annoys you most. Once one cupboard works, the rest tend to follow.

One comment